COVID19 has changed plans, caused concern and altered habits o a planetary scale. Among so many other fields, on site teaching has been disrupted hard by social distancing, so now we are scrambling to set up remote learning alternatives. Things happened so fast lately that many of us were caught by surprise, and we are trying to figure out the best tool set (and state of mind!) to adapt our lessons for the online environment.
So next I’ll describe a solution I’ve found to make easier to teach R and Data Science remotely. Specifically, how to share with anyone, no matter where they are, the code that the teacher is writing. That allows students to access, on their own screens, the code being written in real time. They can then copy and paste it on their own scripts, as well as watch “live” how the code develops as it’s being explained.
We’ll need three ingredients:
- RStudio, that we assume is already installed
- The
livecodepackage: https://github.com/rundel/livecode - An ngrok.com account (https://ngrok.com/), and the
ngrokclient.
Here we go:
Installing the required software
livecode
We can install livecode straight from the author’s repository. Thanks Colin Rundel for making it possible!
In our session, we do:
install.packages("remotes")and then:
remotes::install_github("rundel/livecode")That’s it.
ngrok
First we go to ngrok.com, and click on “SIGN UP” to get our account.
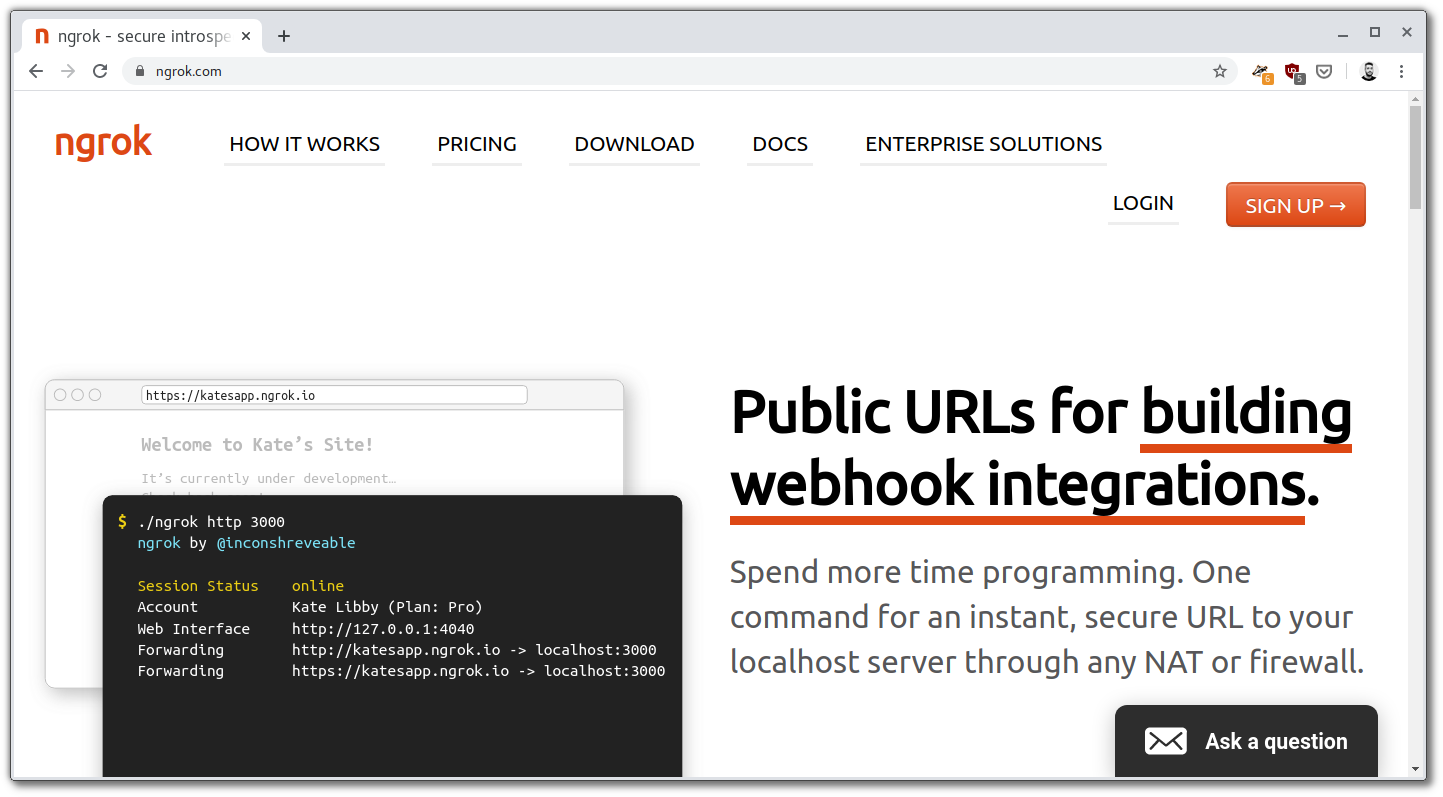
We can register using our Google or github credentials, if we have them, or use our email. In that case, we choose our user user name and password. After creating the account, we are directed to our control panel.

There, step 1, provides a link to download the ngrok client (Linux, Windows and Mac versions). We download and install it. Ubuntu users can simply type snap install ngrok on a terminal.
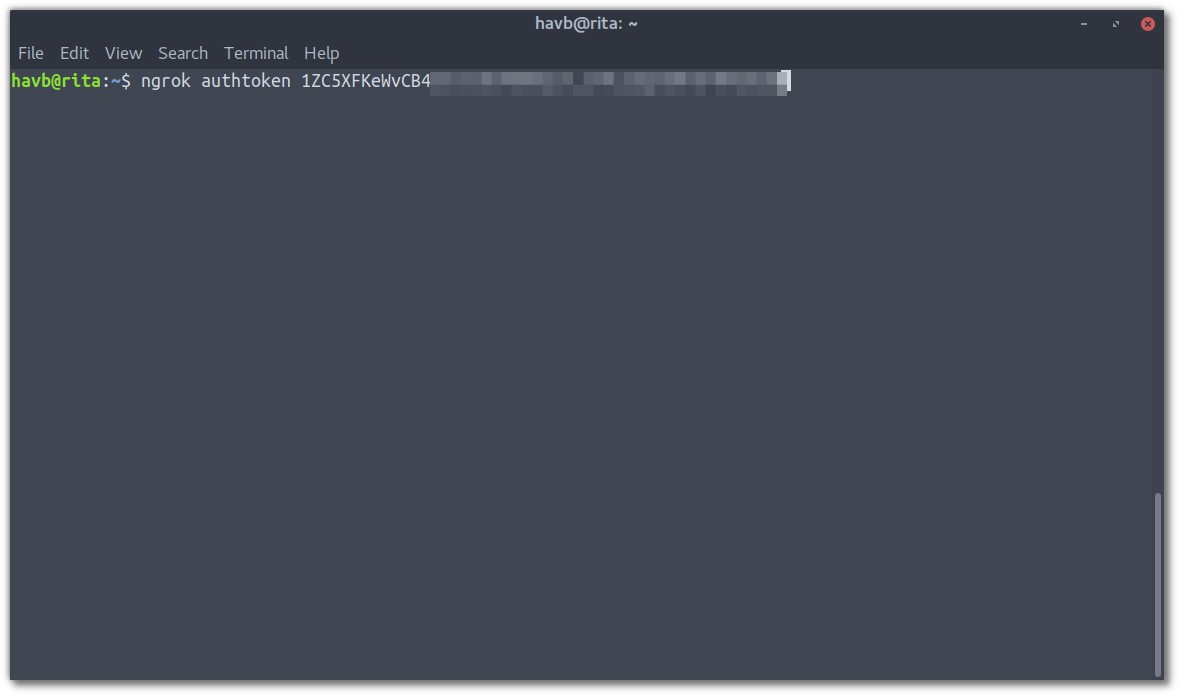
Step 3 shows our “authorization token”, a code we must provide -just once- to finish setting app the client on our system.
We can copy & paste the command that shows up there. For me, the ./ at the begining was not necessary. I just typed:
ngrok authtoken XXXXXXXXXXXXXXX
where “XXXXXXXXXXX” is our authorization token.
… and done!
Sharing our code live with livecode
In a nutshell: we launch RStudio, open or create the file we are about to share; a simple script or a RMarkdown file, both work. If it’s a new file we save it first, and then we are ready to share. It’s just a matter of typing a single line.
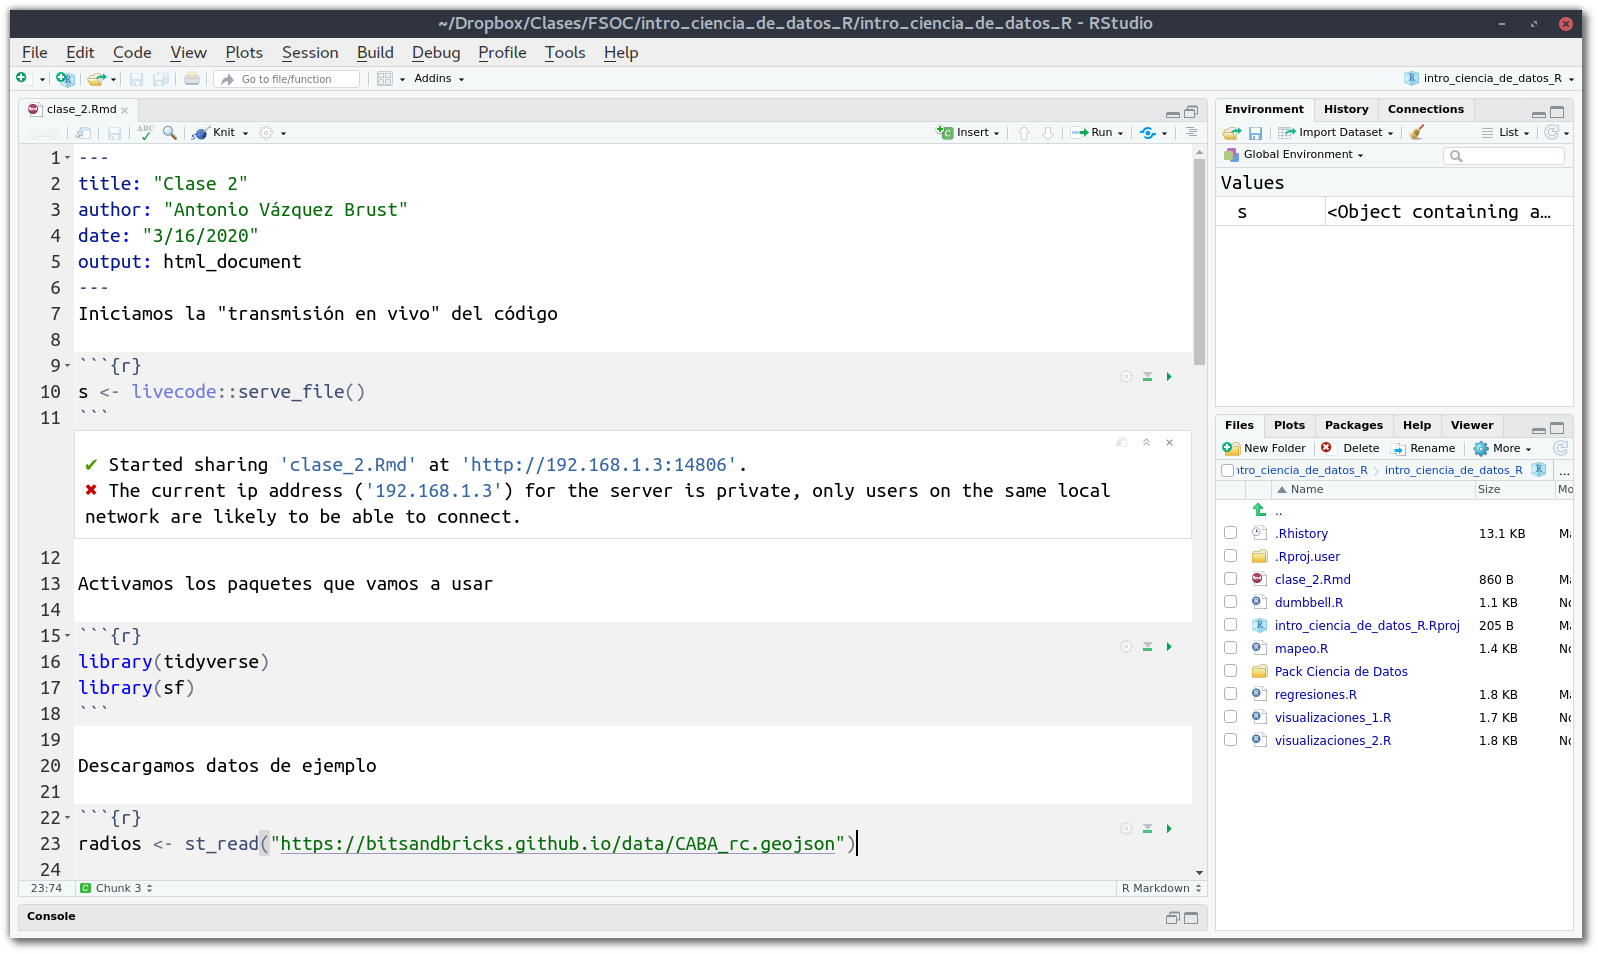
s <- livecode::serve_file()After we run that, we’ll see browser window pop up, showing our code… and updating it as we write it!
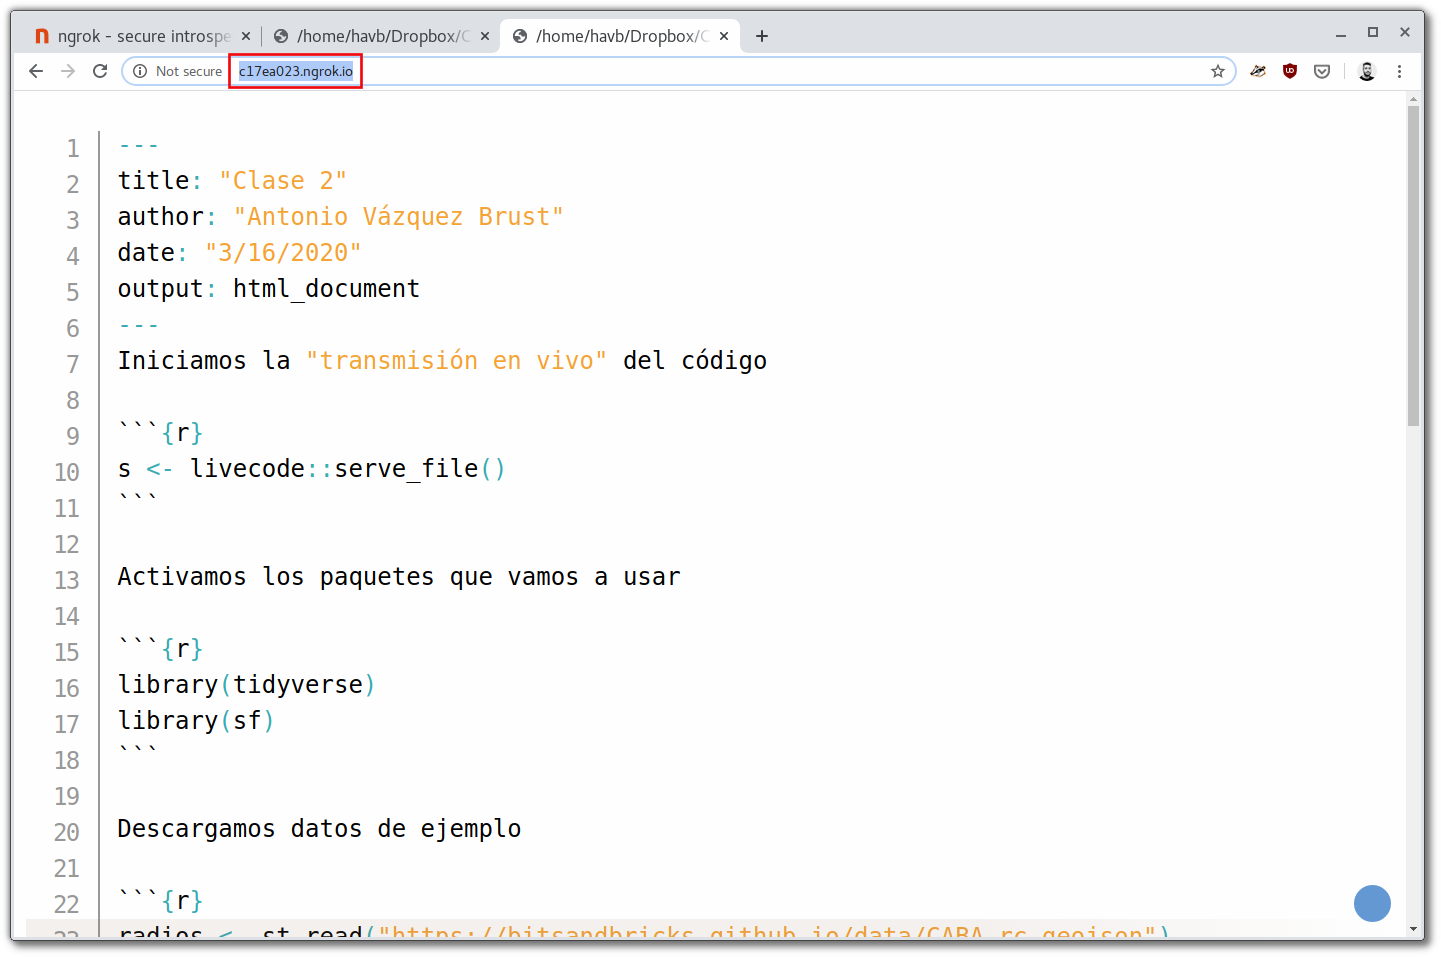
For example, if our RStudio session looks like this…
the browser window will show this:
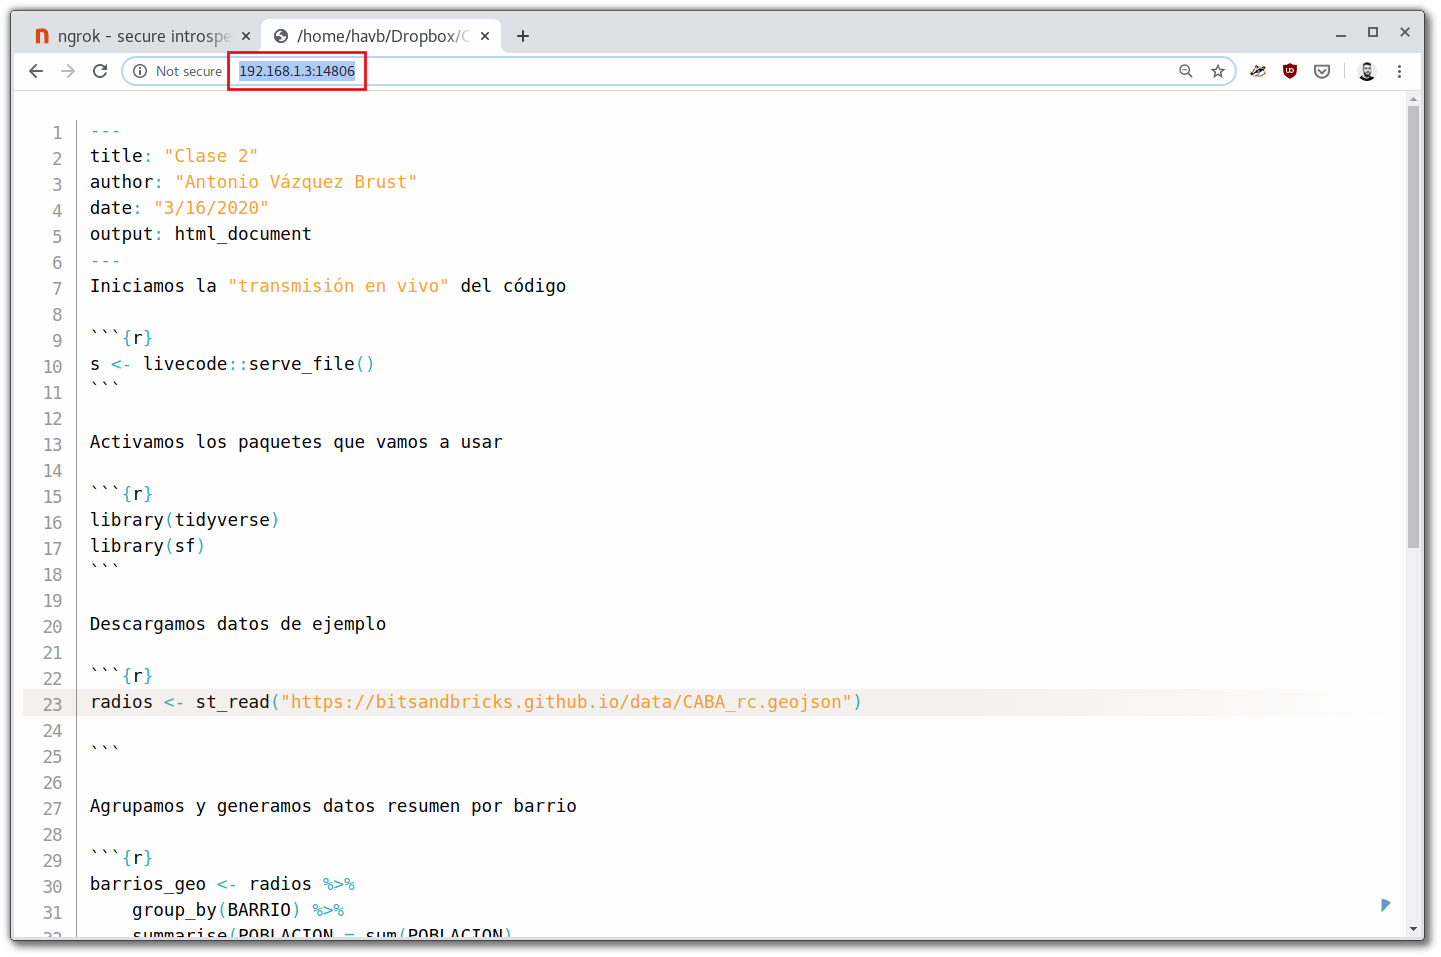
The live code is being served from our computer, using and ad-hoc web server accessible from the local network. That is, people in the same room, or the same wi-fi network can access it using the address. In my case, the address is 192.168.1.3:14806, but yours will probably be different. The important thing is that with that address we can share our code… with people in the same room. That’s great for a typical teaching session, but what about remote students, connecting from home?
ngrok to the rescue.
Casting our code online with ngrok
Let’s take note of our live code website address, highlighted in red on the previous screenshot. Here it’s 192.168.1.3:14806, and that’s what we’ll ask ngrok to publish online. We only need to run this:
ngrok http http://x.x.x.x:yyyy where “x.x.x.x:yyyy” is our address.

After that, we should see a screenlike this, showing thtangrok has taken the website generated by livecode and made it available on the internet:
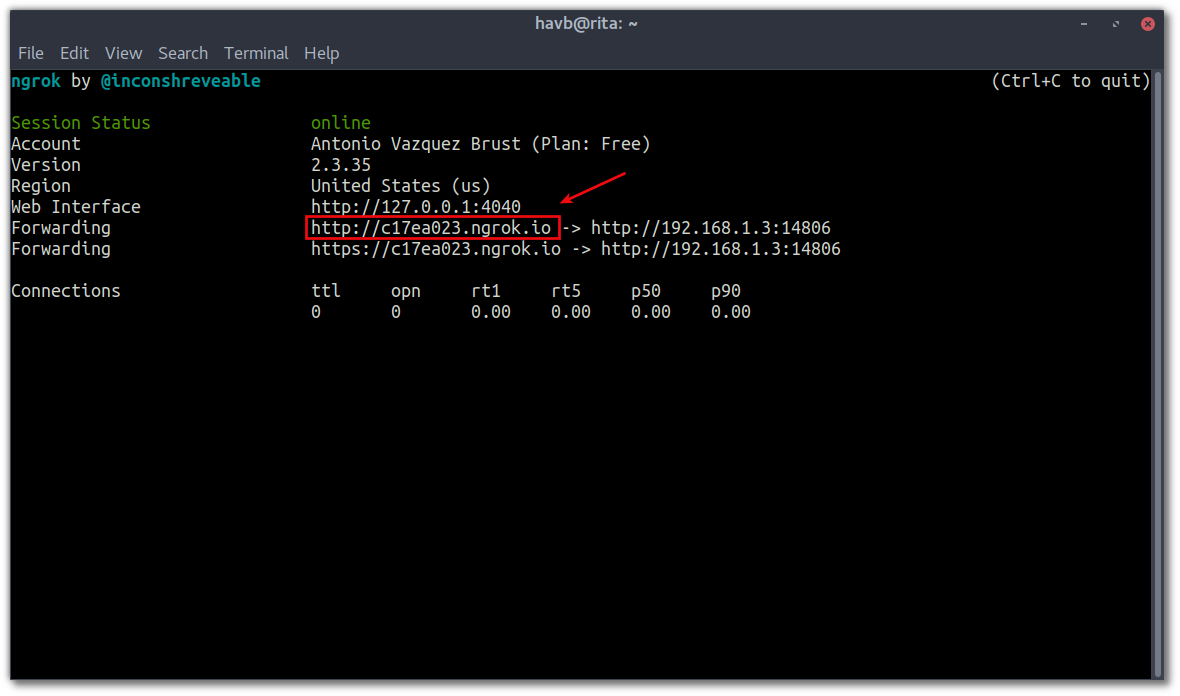
Last step: we copy the new address ending with “ngrok.io” (highlighted in red). Every time we run this we’ll get a different random address, unless we upgrade to ngrok’s premium offer, that enables fixed, permanent addresses. We won’t worry about that for now. We just share the address we got and voilà! Anybody can access it from anywhere and watch us coding live.
Combining live coding with any videoconferencing platform -so we can talk to the audience too- should provide a pretty complete remote learning setup. Good luck, and keep on teaching!